Setting up Xoom 4 for Click Server on your environment is composed of the following steps:
- Install Xoom Server by running a Xoom installer.
- Configure Xoom instances, one for each Click environment that is going to be managed by Xoom.
- [Optional] Copy customer-specific knowledge base files into the Xoom configuration folder.
- [Optional] Configure configuration versioning.
Installing Xoom
The same installer is used for Xoom Client and Xoom Server installations. We are going to describe the server installation here and simply point out where the client installation is different.
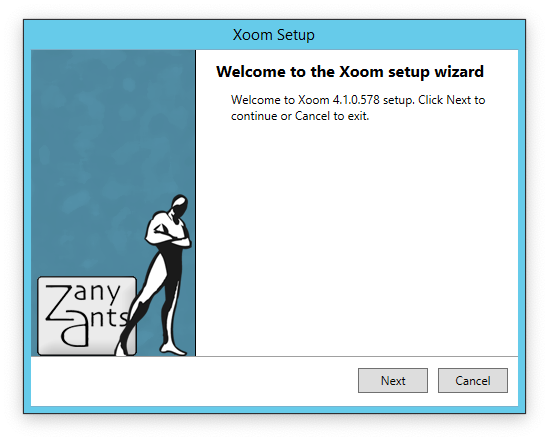
After running the installer, we get the following Welcome screen. Click Next.
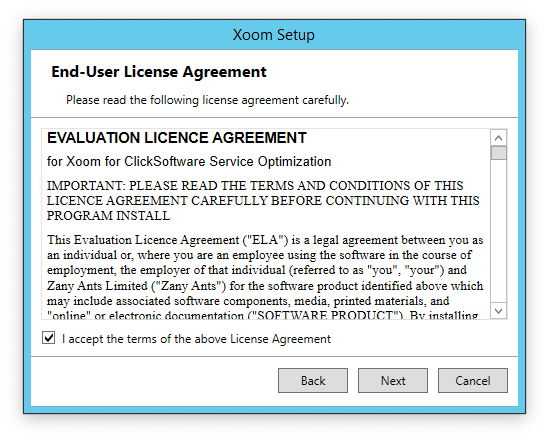
Licence agreement is next. Please agree to it even if you are a paid customer, as permanent licence agreement overrides these terms.
The selection of packages to install is next.
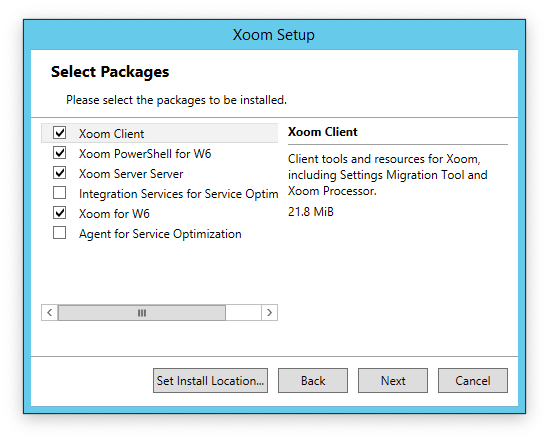
The screenshot shows the selection that is suitable for a Xoom server that is located on a different host than any of the Click systems it manages.
For client installation (e.g. developer workstation), choose Xoom Client and Xoom PowerShell for W6.
For on-premise Click installations where you want to manage the scheme, run the installer on one host of each Click environment that you want to manage and install Agent for Service Optimization. (This can be collocated with Xoom server, as long as it is understood that Xoom itself will use significant resources on that host.)
For on-premise Click installations where you want to use SOT Toolkit, run the installer on one host of your SOT testing environment and install Integration Services for Service Optimization.
Optionally, you can change the install location here by clicking on Set Install Location. It defaults to %ProgramFiles(x86)%\Zany Ants, which is the root folder within which all the packages will be installed, each one in their own folder.
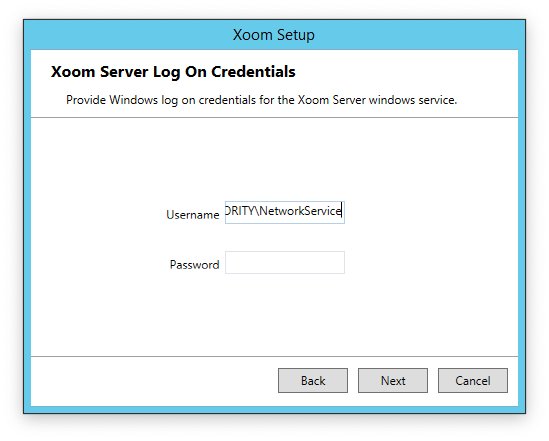
Xoom Server credentials are next. Typing Network Service and pressing tab produces the result in the screenshot (the password is not required in this case), and this should be used unless there is a good reason to do otherwise.
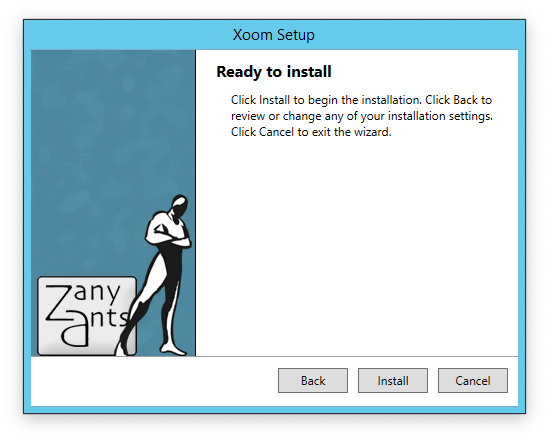
All is set now, we are ready to proceed. Click Install.
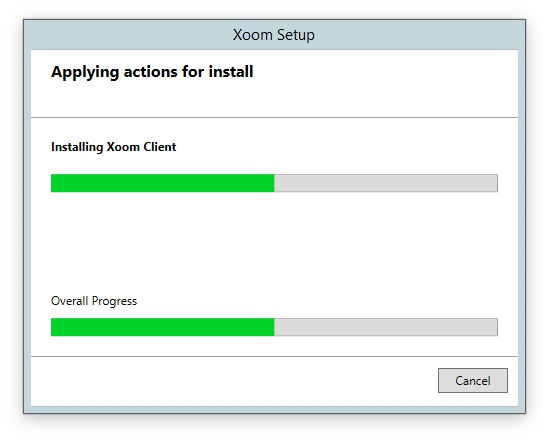
The setup runs through all the packages, installing each in turn and showing you the progress of various installations.
And we are done.
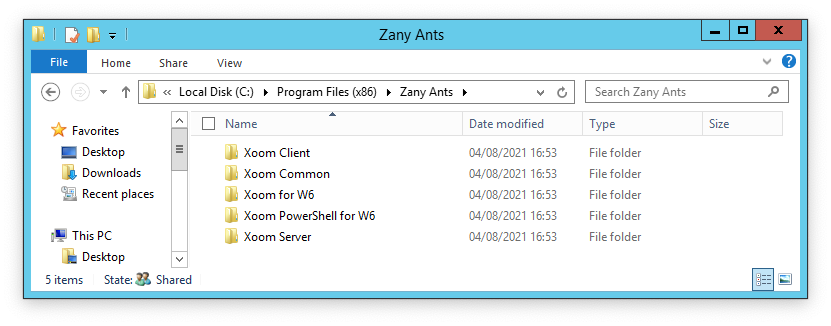
The installation folder will have the following contents after this:
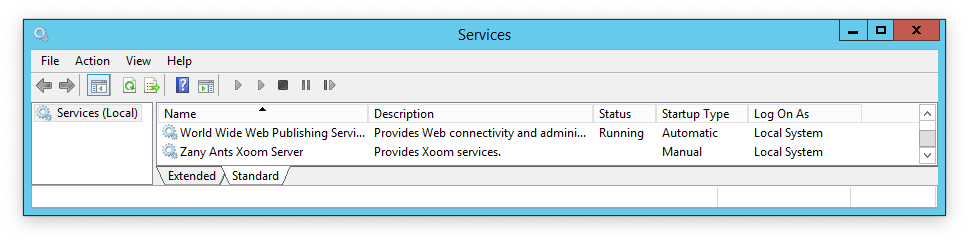
A new service is also create for Xoom server:
Uninstalling Xoom
From time to time, either when you want to upgrade Xoom or you wish to repurpose a host for other purposes, you will want to uninstall Xoom. At the moment of writing, the process for uninstalling Xoom is not quite as streamlined as the installation, so please follow these instructions. We describe the uninstallation of standalone Xoom Server, but we will point out the differences with Xoom Client uninstallation.
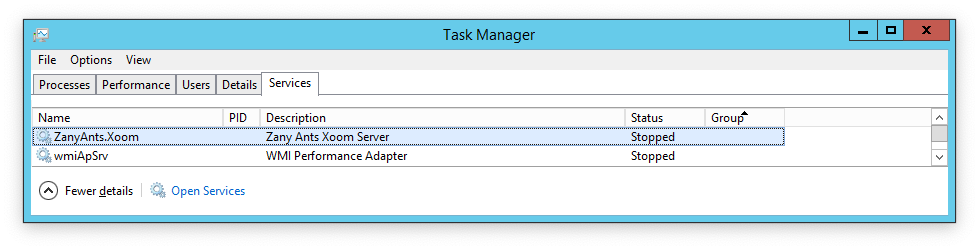
Before uninstalling, make sure that Xoom service is stopped.
Next, open Programs and Features and filter to Zany Ants Limited. On a standalone Xoom Server installation, you will see the following packages:
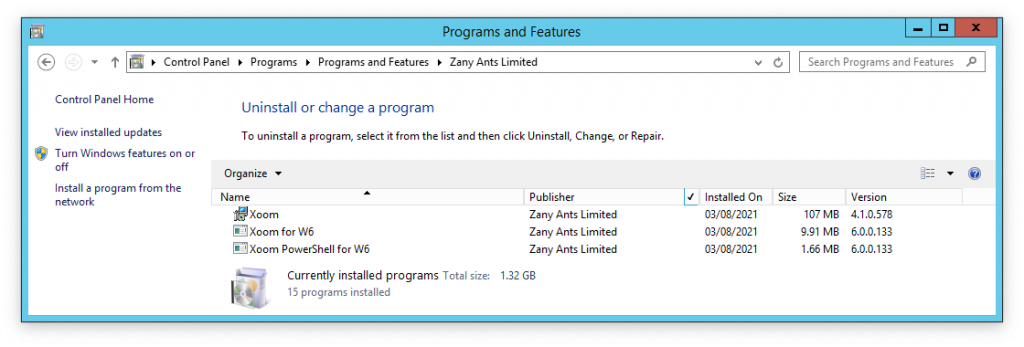
Uninstall in the following order:
- Xoom PowerShell for W6. These are client-side Click-specific extensions. When you receive a warning that one or more products may stop working if you proceed, click Yes to proceed as the affected products will also be uninstalled.
- Xoom for W6. This is the Click plug-in for Xoom and is only present in the server installation, so skip this step if you are uninstalling Xoom Client. Again, ignore the warning about one or more products stoping to work and proceed with the uninstallation.
- Xoom. This will uninstall both Xoom Client and Xoom Server files.
After this, Xoom has been fully uninstalled. The installation folder might contain some remaining log and network configuration files, but nothing else.
If you uninstalled Xoom because you are upgrading to a newer version, then you simply need to run the upgraded installer at this point All Xoom configuration will remain in place.
If you want to completely remove all remaining Xoom files, then remove the whole installation folder as well as Xoom configuration folder (by default %ProgramData%\Zany Ants).